How to Organize a Closet: A Simple Step-by-Step Guide
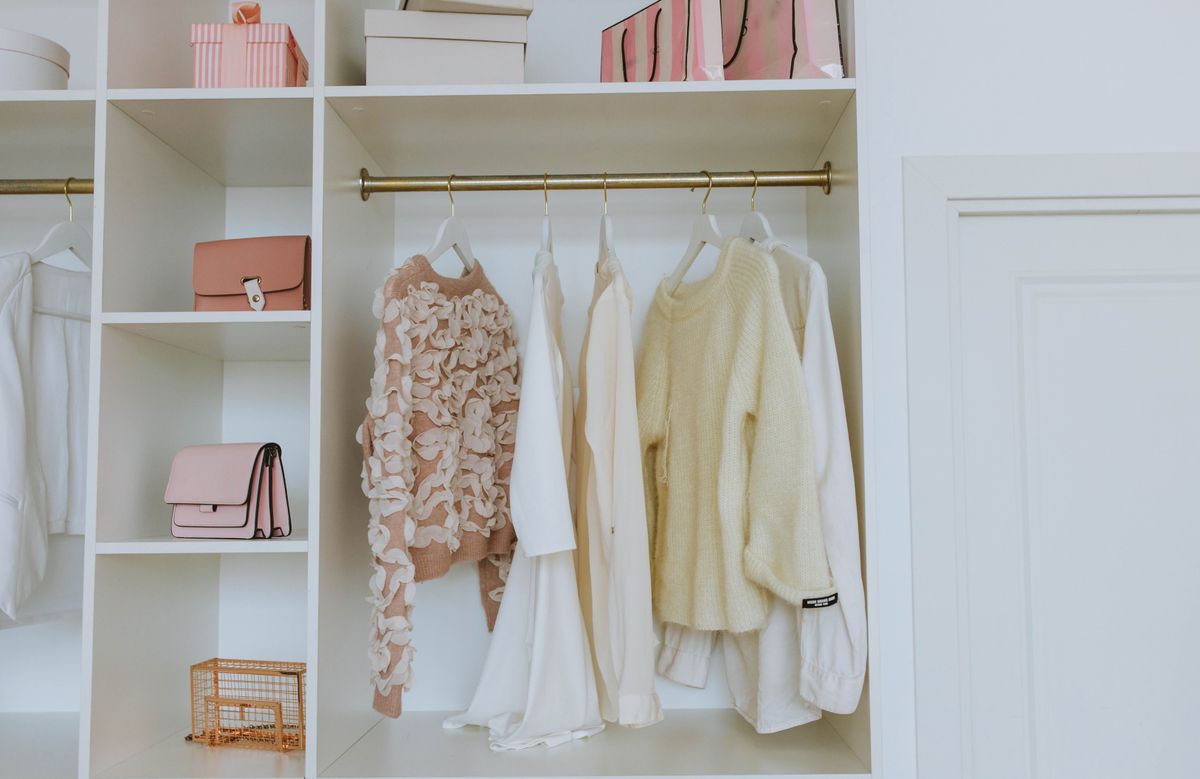
Most closets don't get messy because people are messy. They get messy because there's more in them than fits, and nothing has a clear spot to go back to. Once that happens, things get shoved wherever there's room, and getting dressed turns into a search.
Organizing a closet properly takes an afternoon. Here's how to do it in a way that lasts.
Step 1: Take everything out
It feels like the long way round, but it's faster in the end. Empty the whole closet onto the bed. You'll see exactly how much you have, you'll find things you forgot about, and you get a chance to clean the empty space. Vacuum the floor, dust the shelves and wipe down the rod.
Step 2: Sort into piles
Go through every item and put it into one of four piles: keep, donate, sell or toss. A few questions make the decisions easier:
- Have I worn this in the last year?
- Does it fit me now, not someday?
- Do I feel good wearing it?
- Is it damaged in a way I'm realistically never going to fix?
If you're stuck on something, put it in a box with today's date on it. If you haven't opened the box in six months, donate it without looking inside. Our decluttering guide for beginners has more ways to make these calls without agonizing.
Get the donate and sell piles out of the house within the week, before they quietly creep back into the closet.
Step 3: Group what's left
Put like with like: shirts, pants, dresses, jackets, knitwear, workout clothes. Within each group, many people find it helps to arrange things by sleeve length or by color, light to dark. It sounds fussy, but it makes it much easier to see what you have and to put things back in the right place.
Keep the things you wear most at eye level, somewhere between your shoulders and your knees. Special-occasion clothes, off-season items and anything you rarely need can go higher up or further back.
Step 4: Hang or fold?
- Hang: shirts, blouses, dresses, jackets, suits, and anything that wrinkles easily.
- Fold: sweaters and knits (hanging stretches out the shoulders), T-shirts, jeans and workout clothes.
Folding T-shirts and standing them upright in a drawer, like files, instead of stacking them lets you see every one at a glance.
Step 5: Choose storage that helps
Buy storage after you've edited, not before. Otherwise you end up neatly organizing things you don't need. A few things make a real difference:
- Matching slim hangers. Thin velvet or slim plastic hangers take up far less space than chunky ones, and clothes don't slide off. Switching hangers alone can free up a surprising amount of rod space.
- Shelf dividers keep stacks of sweaters and jeans from toppling into each other.
- Bins or baskets for small things like belts, scarves and hats. Label them.
- A second rod below the first, if you have lots of short items like shirts. It can almost double your hanging space.
- Over-the-door hooks or racks for bags and accessories.
- Shoe shelves or racks so shoes aren't a pile on the floor.
Step 6: Rotate by season
If space is tight, store off-season clothes in bins or vacuum bags under the bed or on a high shelf. Make sure everything is clean before it goes away. Food spots and body oils you can't see now can turn yellow over a few months, and they attract moths. Swap the seasons over twice a year, and do a quick edit while you're at it.
Keeping it organized
The hard part isn't getting organized. It's staying that way. A few habits help:
- One in, one out. When something new comes in, something old goes.
- Leave some empty space. A closet packed to the edges is a closet that's about to get messy again.
- The hanger trick. Turn all your hangers backward. When you wear something and hang it back up, turn the hanger the right way round. After six months, you'll see exactly what you never wear.
- Keep a donation bag in the closet, so anything that doesn't fit or that you've stopped liking has somewhere to go right away.
- Do a five-minute reset once a week, before small messes turn into big ones.
If you keep running into clothing care questions while you sort, our guide to laundry care label symbols explains what all those little icons mean.


Comments
Post a Comment