How to Organize a Pantry So You Can Actually Find Things
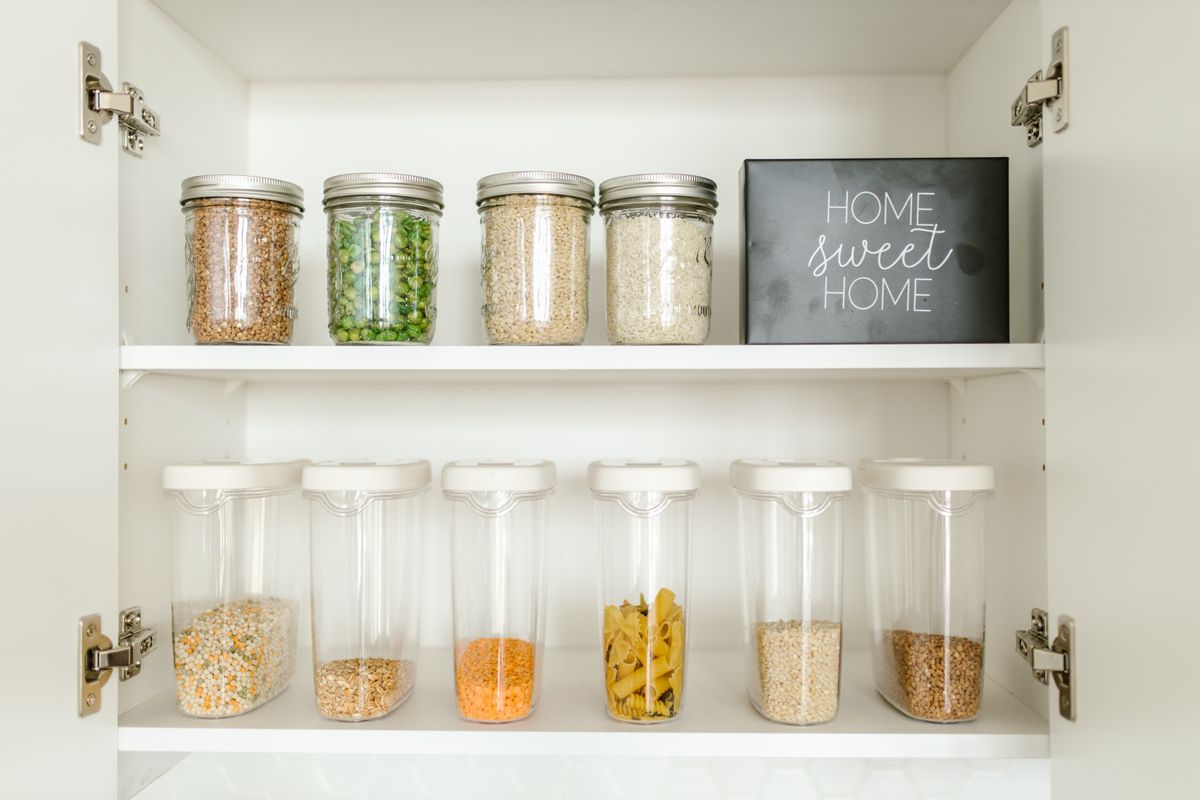
A disorganized pantry costs money. You buy things you already have because you can't see them, and food quietly expires at the back of the shelf. It also makes cooking slower, because every recipe starts with a hunt.
It doesn't matter whether you have a walk-in pantry or a single cupboard. The process is the same.
Step 1: Empty it and check dates
Take everything out and put it on the counter or table. Check dates as you go and get rid of anything that's well past it, stale, or showing signs of pantry pests (more on those below). Be honest about the things you bought for one recipe two years ago.
Unopened, in-date food you know you won't use can go to a local food bank.
Step 2: Clean the shelves
With the pantry empty, vacuum out the crumbs, then wipe the shelves with warm soapy water and dry them well. Check the corners for spilled flour, sugar or rice, which attract bugs.
Step 3: Sort into groups
Group similar items together. Typical categories:
- Baking: flour, sugar, baking soda, baking powder, chocolate chips
- Grains and pasta: rice, pasta, oats, quinoa
- Canned goods: beans, tomatoes, soups, fish
- Breakfast: cereal, oatmeal, spreads
- Snacks
- Sauces, oils and condiments
- Spices and seasonings
Your categories should match how you cook. If you bake every weekend, baking gets a whole shelf. If you never bake, it might fit in one small bin.
Step 4: Give each group a zone
Put the things you use every day at eye level and within easy reach. Heavy things like big bottles, bags of potatoes or bulk rice go on the lower shelves, which is safer and easier. Rarely used items and backups go up high.
Keep each zone in the same place for good, so everyone in the house learns where things live.
Step 5: Use containers wisely
Clear airtight containers are worth it for food that comes in bags that are hard to reseal: flour, sugar, rice, pasta, oats, cereal and snacks. They keep food fresher, keep pests out, and let you see at a glance when you're running low.
That said, you don't need to decant everything. Cans, jars and bottles are already well packaged.
A few other things help:
- Labels. Write the contents and the expiration date, or the date you filled it, on each container. Painter's tape and a marker work fine.
- Turntables (lazy Susans) for oils, vinegars and sauces in deep corners.
- Tiered risers for cans and spices, so the back row isn't hidden.
- Bins with handles for snacks and loose packets. You pull the bin out like a drawer.
- Door racks for spices or small jars, if you have a pantry door.
Step 6: First in, first out
When you unpack groceries, put new items behind the older ones. Stores do this, and it works just as well at home. It's the simplest way to stop things expiring at the back.
When you refill a container, use up what's left in it first, or put the older food on top, instead of pouring new food over old.
Watch out for pantry moths
Small moths fluttering around the kitchen, webbing in a bag of flour or rice, or tiny larvae in grains are signs of pantry moths. If you find them, throw out any infested food, vacuum the shelves including the corners and shelf supports, wipe everything with soapy water, and keep dry goods in airtight containers from then on.
Some people put new bags of flour in the freezer for a few days before decanting them, to kill any eggs that came home from the store.
Keep a running list
Stick a notepad or magnetic list on the inside of the pantry door, or keep a shared list on your phone. When something runs low, write it down right away. A quick look at the pantry before you shop, together with that list, stops duplicate buys almost completely.
Keep it up
A five-minute tidy once a week keeps the zones from drifting, and a fuller clear-out every few months catches anything that's about to expire. If your fridge and cupboards need the same treatment, see our produce storage guide and our tips for organizing a small kitchen.


Comments
Post a Comment